DIY PC Build, Heatsink Installation, Thermal Paste Application, CPU Cooling, How-To Guide
Applying thermal paste might seem simple, but doing it wrong can raise CPU temperatures by 10-20°C. Forget the myths and artistic spreads; the goal is a thin, uniform, bubble-free layer that fills microscopic imperfections. Here’s the foolproof method.
The Golden Rule: Less is More.
You need only enough paste to fill the air gaps between the CPU’s integrated heat spreader (IHS) and the cooler’s base. Excess paste acts as an insulator and can squeeze out, potentially causing a mess.
Step-by-Step Application Method (The Pea/ Dot Method):
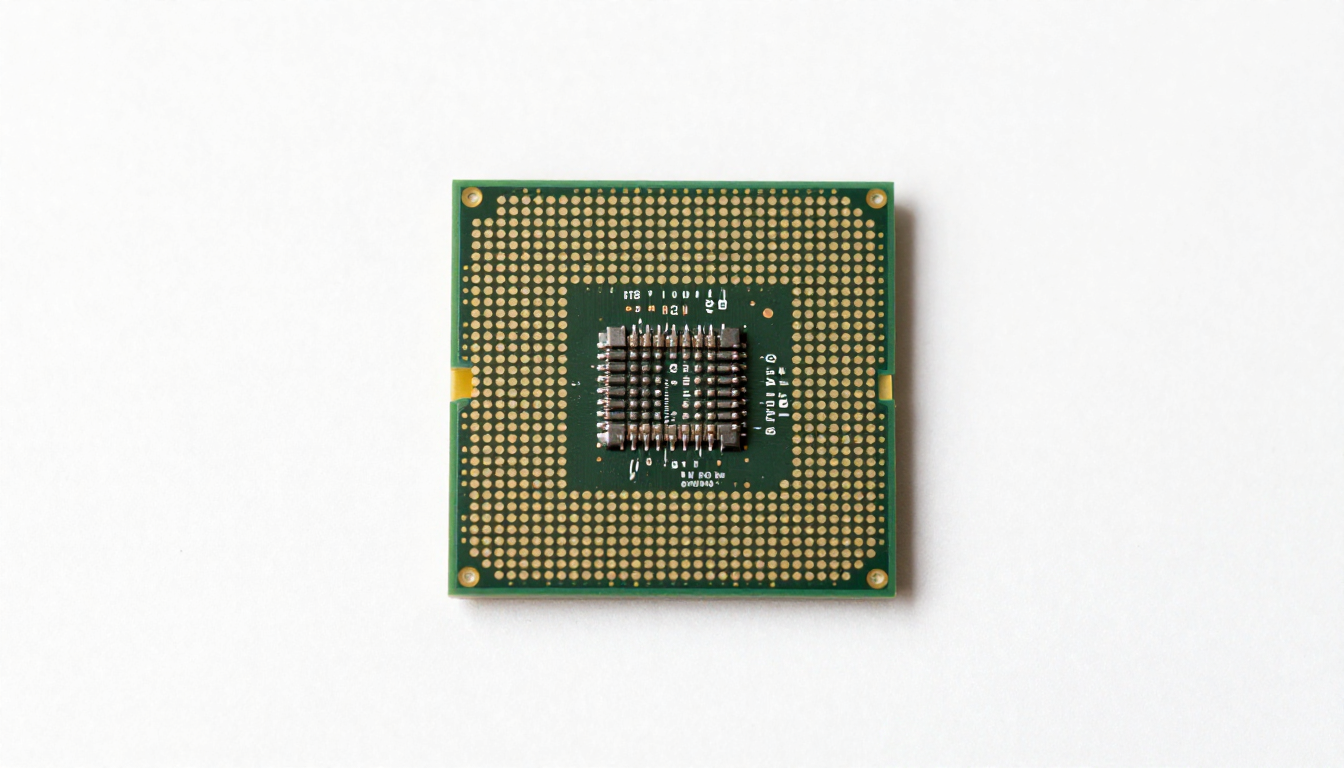
- Prepare Surfaces: Ensure both the CPU IHS and cooler base are perfectly clean. Use a lint-free cloth and 90%+ isopropyl alcohol to remove all old residue.
- Apply the Paste: For most modern CPUs (AMD AM5, Intel LGA 1700/1851), place a single, small pea-sized dot (about 4-5mm diameter) of paste in the center of the CPU. For larger chips (e.g., Threadripper, some GPUs), a thin line or an “X” can be used.
- Install the Cooler: Immediately place the cooler straight down onto the CPU. DO NOT spread the paste with a tool beforehand. The pressure from mounting will spread the paste evenly and naturally force out air bubbles.
- Secure the Cooler: Tighten screws in a diagonal, cross pattern (if applicable) to ensure even pressure. Do not overtighten.
What NOT to Do:
- The “Spread” Method: Using a card or tool often traps air bubbles and creates an uneven layer.
- The “Too Much” Method: A thick layer is worse than a thin one. Excess paste will not improve cooling.
- Reusing Old Paste: If you remove the cooler, always clean and reapply fresh paste. The existing layer will have air pockets.
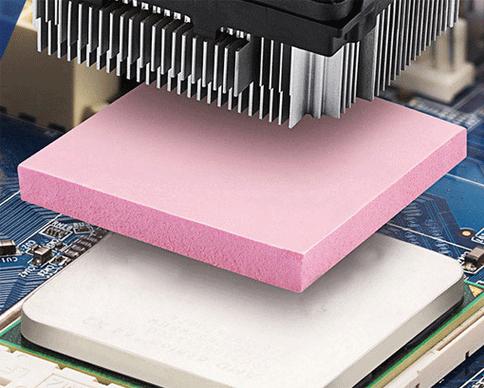
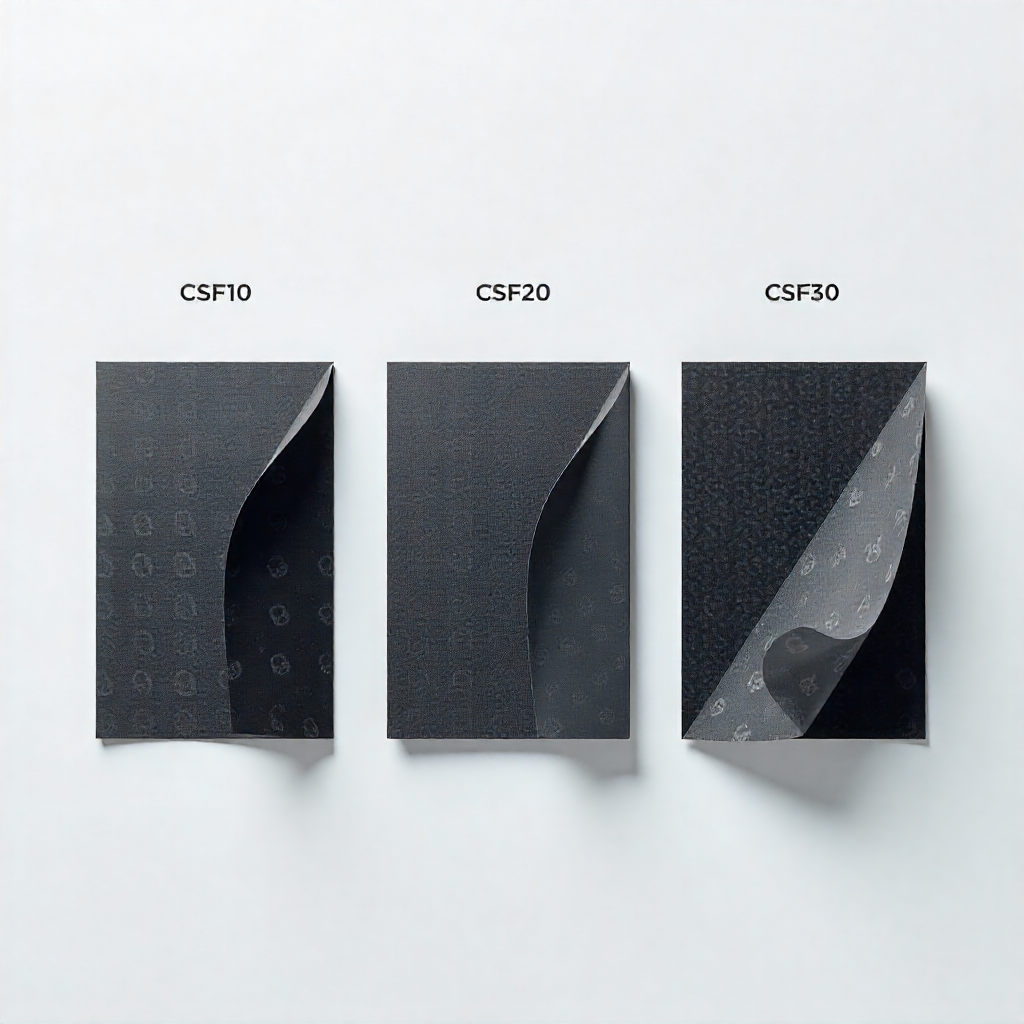
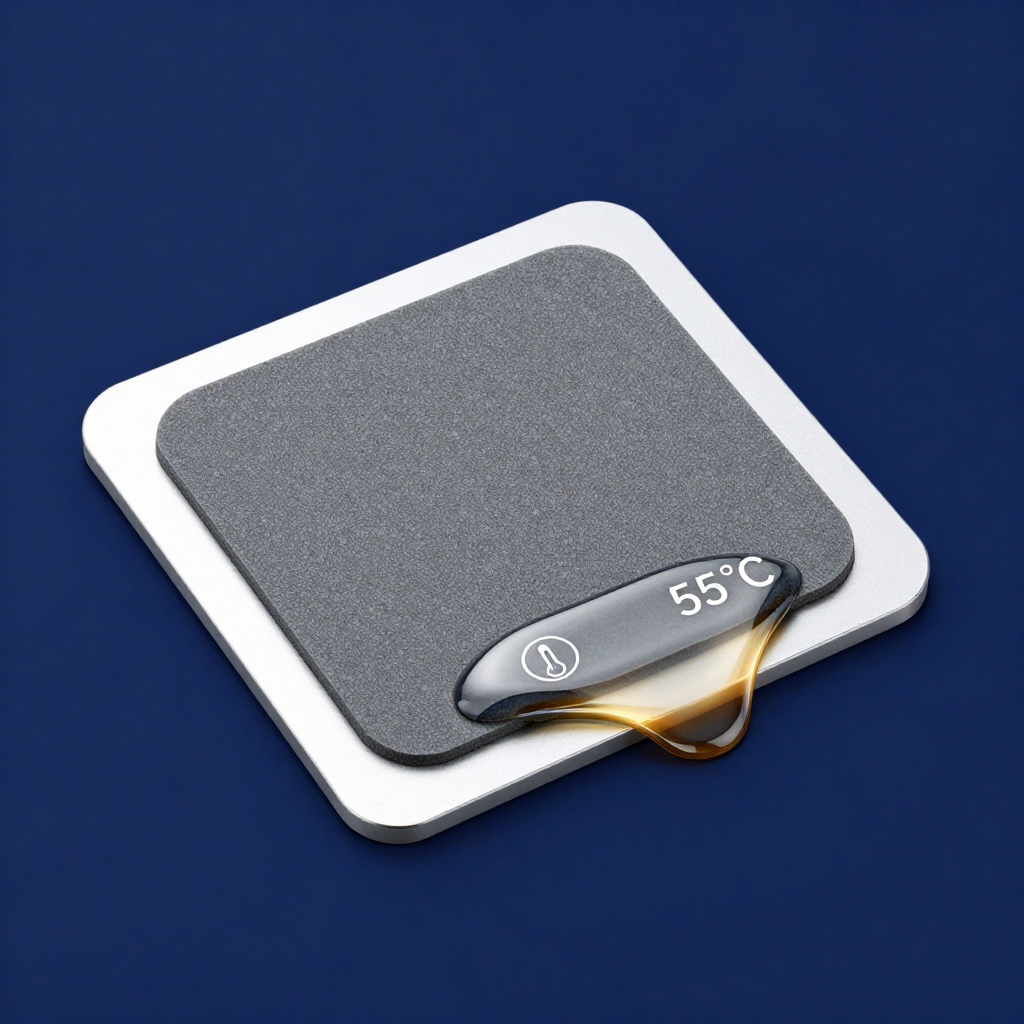
Post-Installation Check: After running a stress test, you can carefully remove the cooler to check the spread pattern. It should be a thin, even layer covering most of the IHS. This method works for all non-conductive pastes and phase change pads (which are pre-applied as a solid square).