Active Cooling for Your Pi: Advanced TIM and Heatsink Strategies for Raspberry Pi Projects
The Raspberry Pi is a marvel, but under sustained load, its SoC (System on a Chip) can thermal throttle, crippling performance. While the included sticky thermal pads are convenient, upgrading to a proper thermal interface strategy can unlock stable, higher performance for servers, media centers, or industrial controllers. Here’s how to think beyond the basic kit.
The Raspberry Pi Thermal Landscape:
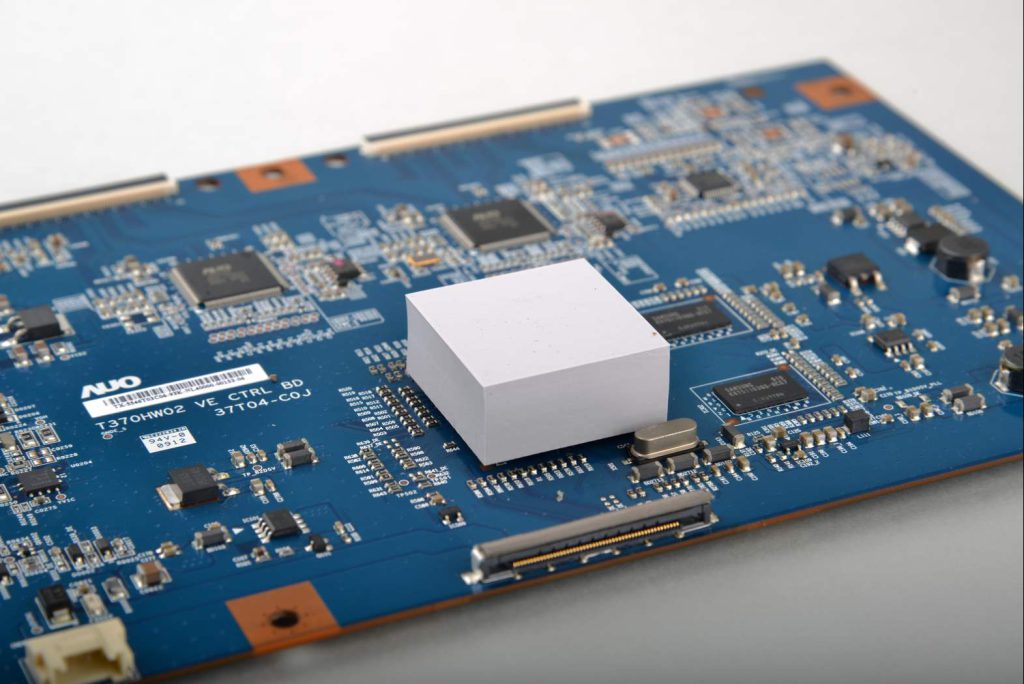
- Primary Hotspot: The Broadcom SoC (CPU/GPU). This is the main target.
- Secondary Hotspots: The PMIC (Power Management IC) and, on models with PoE+ HATs, the Ethernet controller and switching regulator. These often get overlooked.
Upgraded Cooling Strategies:
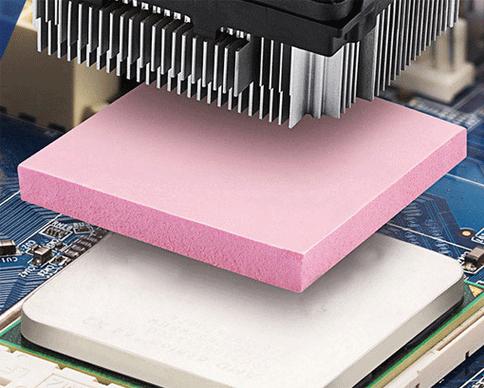
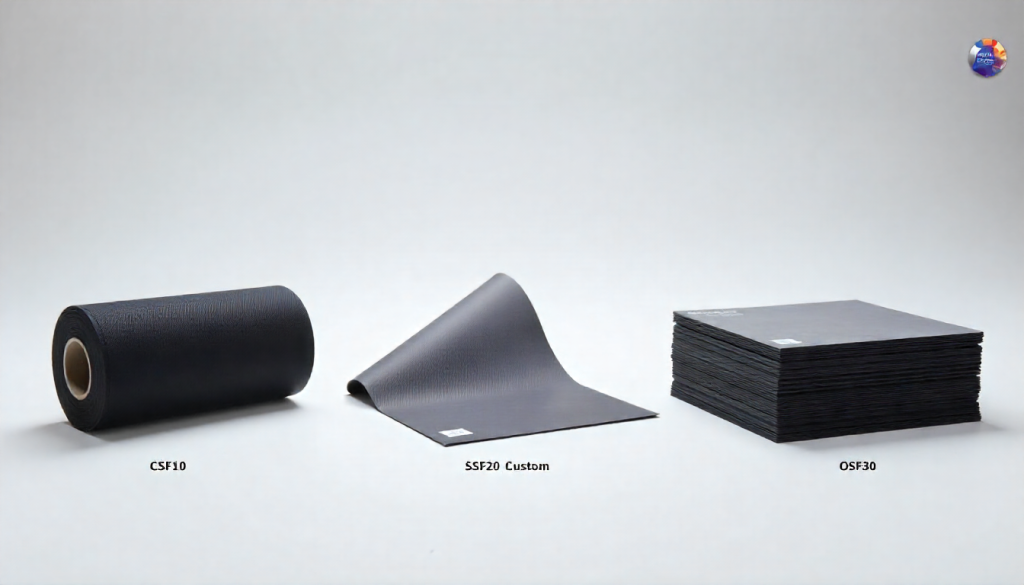
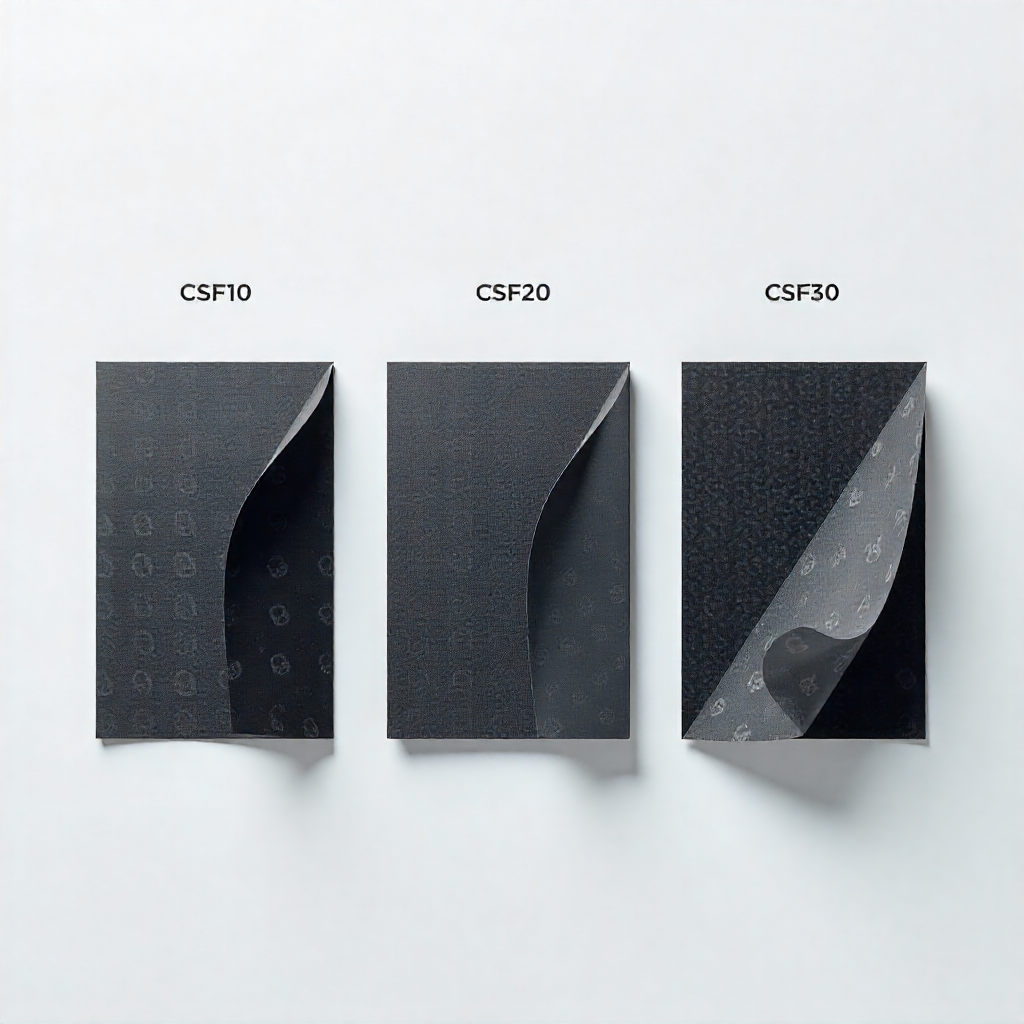
- TIM Upgrade for Stock Heatsinks: Replace the generic pad on your aluminum heatsink with a higher-performance thermal pad (3-6 W/m·K) or a small dab of quality thermal paste. This alone can drop temps by several degrees.
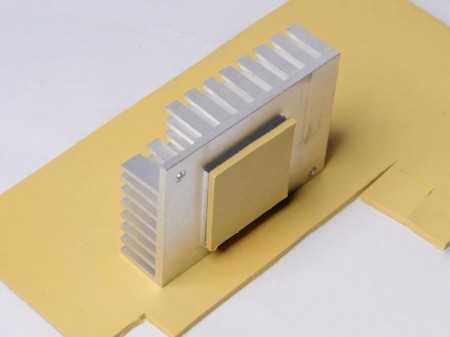
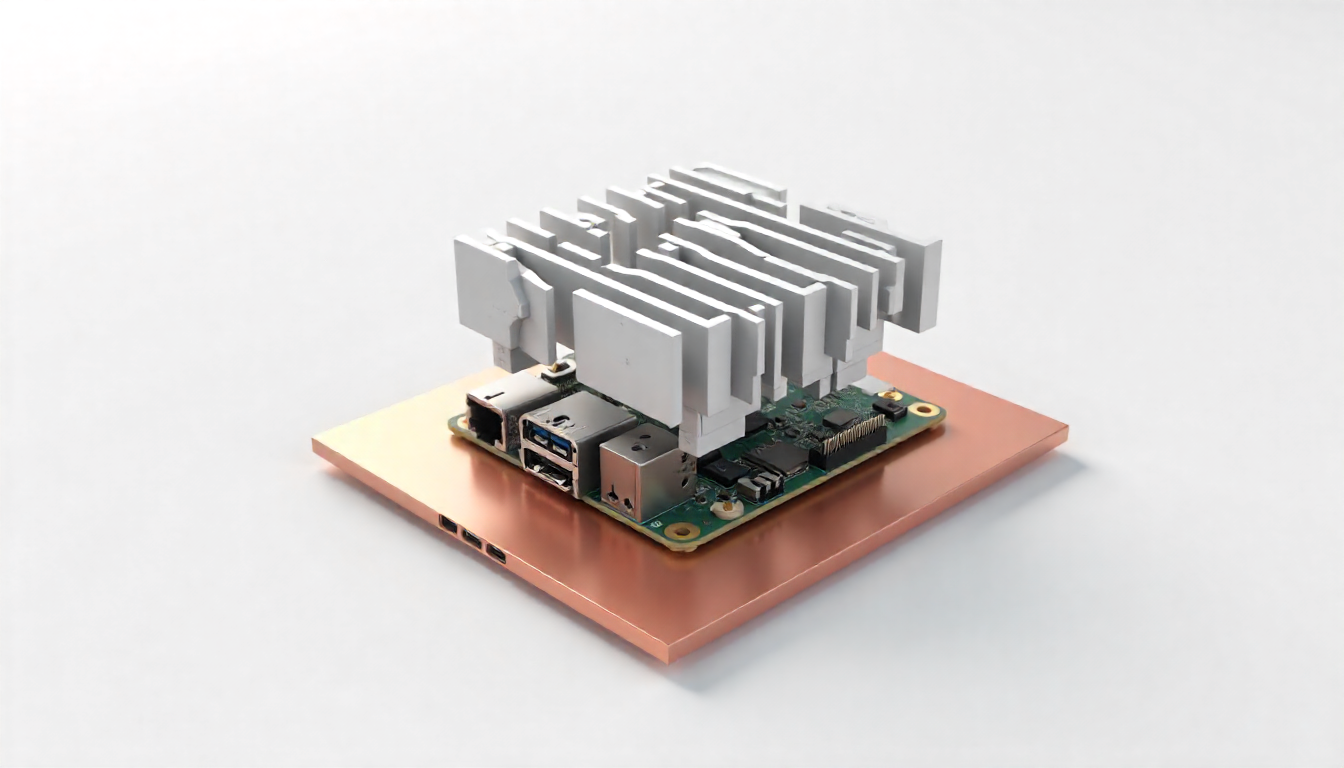
- The Passive Stack Approach: For fanless, silent operation, use a stacked heatsink assembly: a copper slug directly on the SoC (with paste), topped with a larger aluminum finned heatsink. The copper spreads heat quickly; the aluminum dissipates it. Use thermal pads for the PMIC and other chips.
- Integration with HATs (Hardware Attached on Top): If using a PoE+ HAT or other add-on board, ensure it has its own heatsink. You can use low-profile thermal pads to bridge hotspots on the HAT to the main Pi’s heatsink stack or case, creating a unified thermal mass.
- Case Integration: In an enclosed case, ensure the primary heatsink makes direct contact with the metal case wall using a thermal pad, turning the entire case into a heatsink.
Pro Tips for Makers:
- Clean First: Always clean the chip surface with isopropyl alcohol before applying any new TIM.
- Mind the Height: When stacking heatsinks or using cases, ensure you don’t short any components on the PCB. Use non-conductive pads or insulators.
- Monitor Temperatures: Use the
vcgencmd measure_tempcommand to verify your improvements under load.
With a thoughtful approach to thermal interfaces, your Raspberry Pi can run cooler, quieter, and more reliably, transforming it from a prototyping board into a robust, always-on computing node.