Breathing New Life into Old Gear: Upgrading Thermal Interface Materials in Legacy Systems
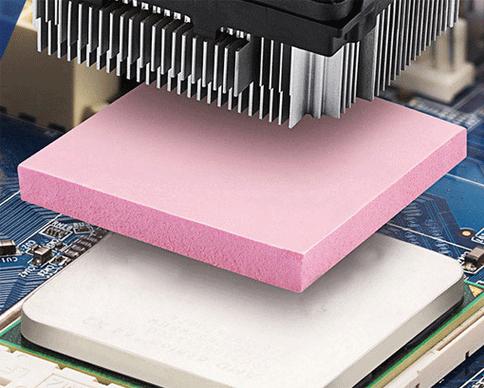
Is an older server running hotter and louder than it used to? Is a legacy industrial PC threatening to overheat? Often, the culprit is degraded thermal grease that has dried out or pumped away. A cost-effective and impactful performance retrofit is to replace the aging thermal interface material (TIM) with a modern phase change thermal pad.
Why a Phase Change Pad is Ideal for Retrofits:
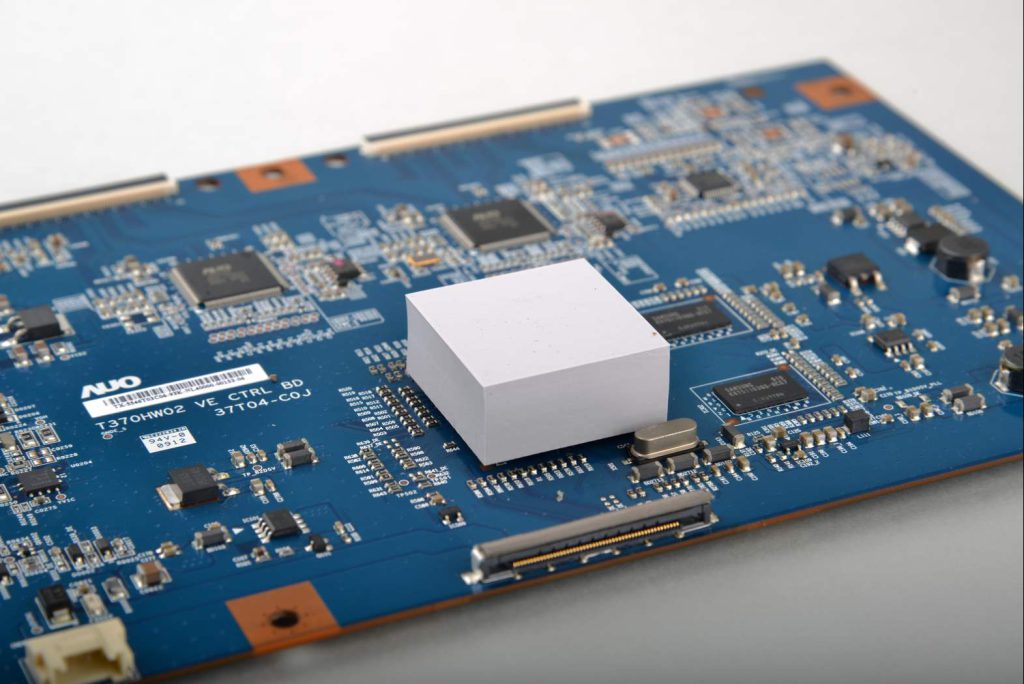
- Foolproof Application: Unlike liquid metal or precise grease spreading, a pre-cut pad is simple to install correctly, even in tight, complex legacy systems. It eliminates the risk of under- or over-application.
- Forgiving Conformity: Older components and heatsinks often have more surface imperfections or warpage. A phase change pad’s ability to flow and conform makes it excellent at filling these gaps in a one-time upgrade.
- Long-Term Solution: Once installed, the new pad will resist the pump-out and dry-out that plagued the original material, extending the reliable service life of the equipment for years.
A Step-by-Step Retrofit Guide:
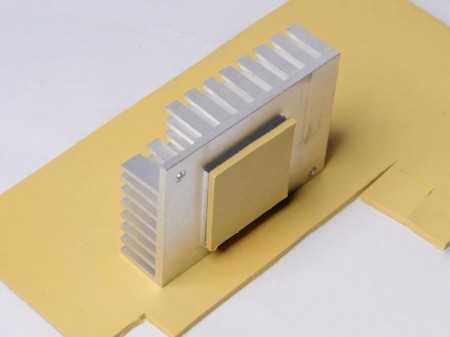
- Disassembly & Cleaning: Carefully remove the heatsink. Thoroughly clean all old TIM from both surfaces using high-purity isopropyl alcohol.
- Critical Measurement: Use calipers to measure the exact gap between the chip and the heatsink when they are seated without any TIM. This determines the required pad thickness.
- Selection & Installation: Choose a pad with a thickness that allows for slight compression (e.g., if the gap is 0.5mm, a 0.5mm or 0.6mm pad may work). Cut it to size, place it, and reassemble with even pressure.
This upgrade can directly lead to lower operating temperatures, reduced acoustic noise from cooling fans, and prevented thermal throttling, giving critical legacy equipment a new lease on life.