Upgrade & Repair: Choosing Thermal Pads for DIY Electronics
For enthusiasts, repair technicians, and anyone looking to extend the life of their electronics, replacing dried-out or ineffective thermal pads is a common and rewarding task. Whether it’s reviving a gaming laptop suffering from thermal throttling, upgrading the cooling on a cryptocurrency mining GPU, or fixing a malfunctioning media streaming device, understanding the practicalities of aftermarket thermal interface materials is key to a successful repair.
The First Step: Accurate Measurement and Removal
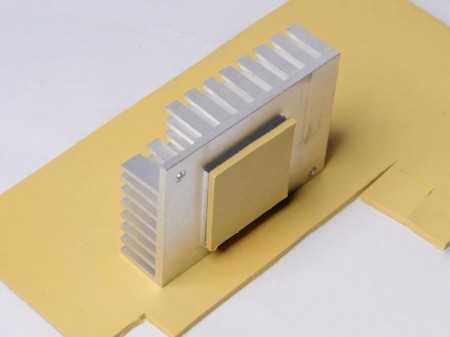
A successful thermal pad replacement project starts with careful teardown. Before removing the old pad, note its location and, crucially, measure its uncompressed thickness using digital calipers. Old pads can be carefully peeled away; any residue can be gently cleaned with isopropyl alcohol and a plastic spudger to avoid damaging components. The goal is to prepare a clean, flat surface for the new material, ensuring maximum thermal contact area after reinstallation.
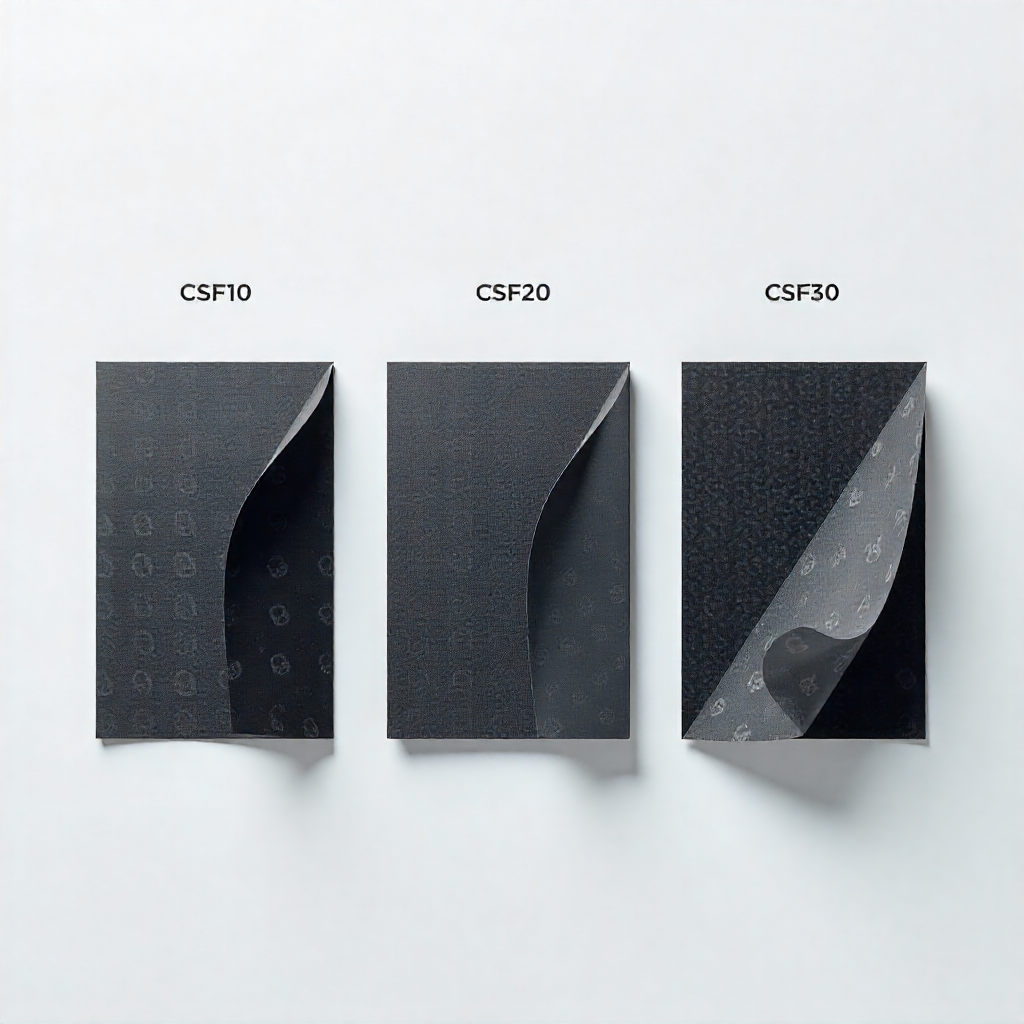
Navigating the Selection Maze
The market offers a bewildering array of options. Here’s how to choose:
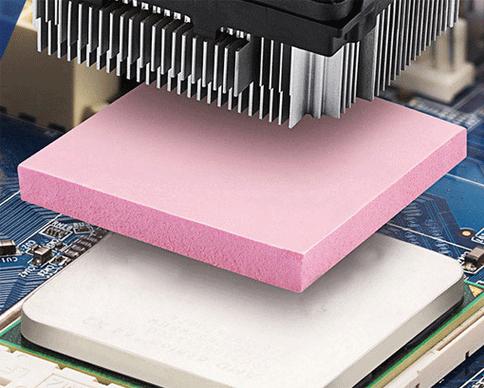
- Thickness is King: The single most important factor. Using a pad that is too thick can prevent proper contact between the core chip and its heatsink, while one that is too thin leaves an insulating air gap. Finding the exact thermal pad thickness for your specific GPU memory chips (often different from the GPU die itself) is critical. Online community forums and manufacturer disassembly guides are invaluable resources.
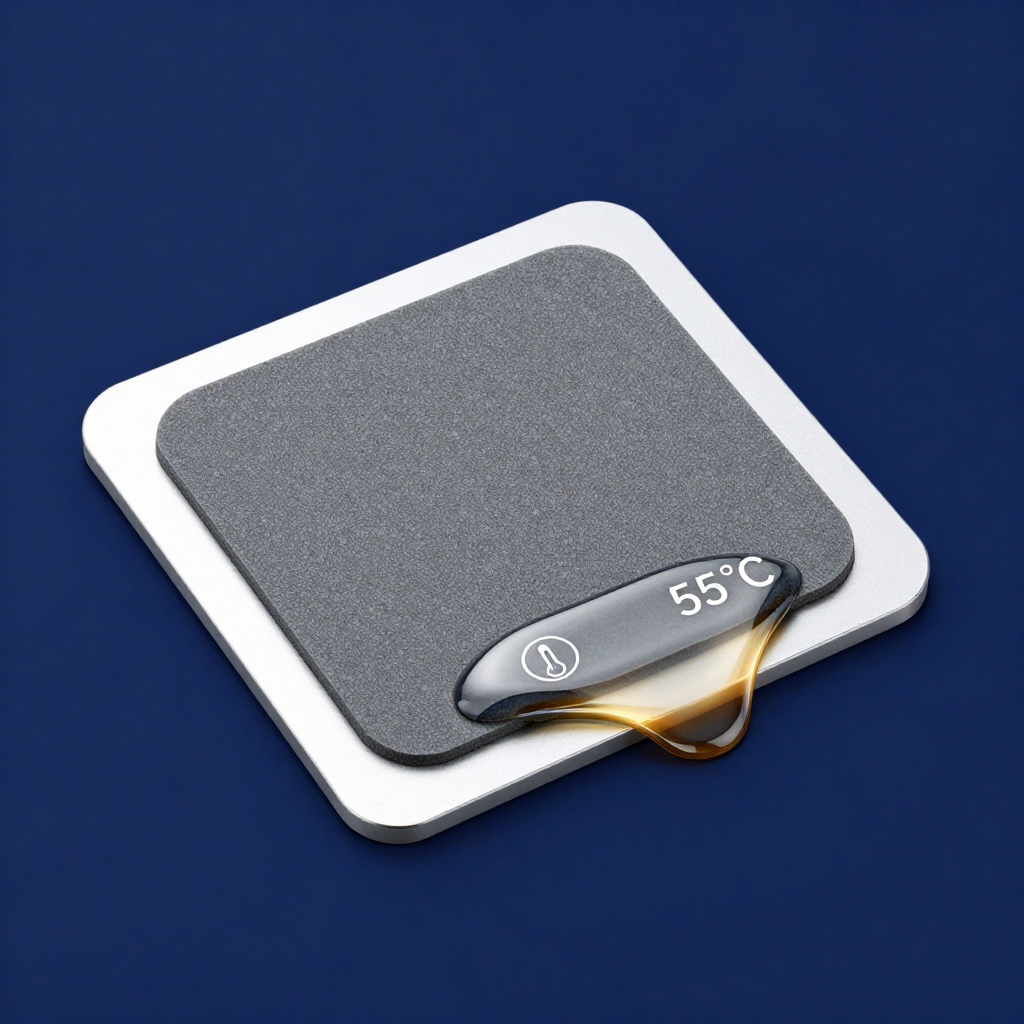
- Performance vs. Practicality: For a graphics card thermal pad upgrade, a high-thermal-conductivity (6-12 W/mK) pad is ideal for VRAM and VRMs. However, extremely soft, high-performance pads can be delicate and hard to handle. For a first-time repair, a mid-range, slightly firmer pad might offer a better balance of performance and ease of DIY installation without tearing.
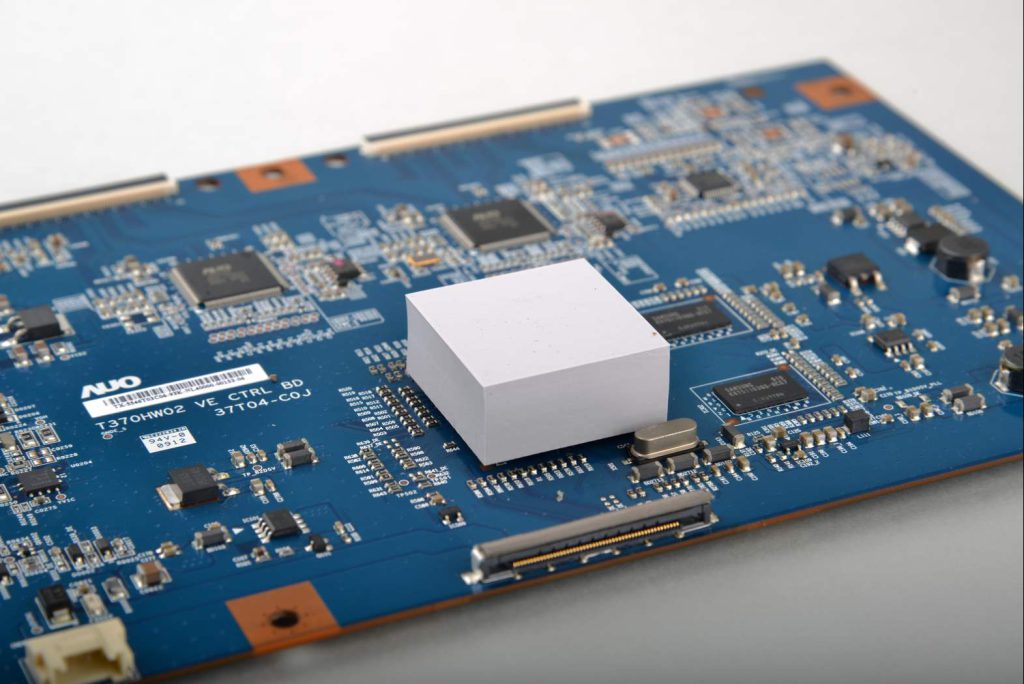
- Hardness and Conformability: Components like inductors and MOSFETs on a laptop motherboard can have height variations. A soft (Shore 00 scale) thermal putty or pad is excellent for these irregular surfaces as it conforms perfectly, whereas a stiff pad might only contact the tallest points.
Installation Best Practices for Lasting Results
- Cutting: Use sharp scissors or a blade against a metal ruler. Cut pieces slightly larger than the component for full coverage.
- Handling: Use tweezers to place pads and avoid touching the adhesive-less surfaces with fingers to prevent oil contamination.
- Reassembly: Apply even, cross-pattern screw tightening when re-attaching the heatsink to ensure uniform pressure. Do not overtighten.
Following a step-by-step thermal pad installation tutorial specific to your device model is highly recommended. A successful repair not only fixes overheating issues in consumer electronics but can also restore lost performance and significantly prolong the device’s usable life, making it a cost-effective and sustainable practice.