PS5 Overheating Fix: A Safe Guide to Replacing Thermal Pads and Paste
Is your PlayStation 5 sounding like a jet engine or shutting down due to overheating? Dust buildup and degraded thermal interface materials (TIMs) are often the culprits. While more complex than a PC, a careful PS5 thermal pad replacement and heatsink cleaning can restore quiet, cool operation. Warning: The PS5 uses liquid metal on the APU. This guide focuses on the safer thermal pad replacement for other components.
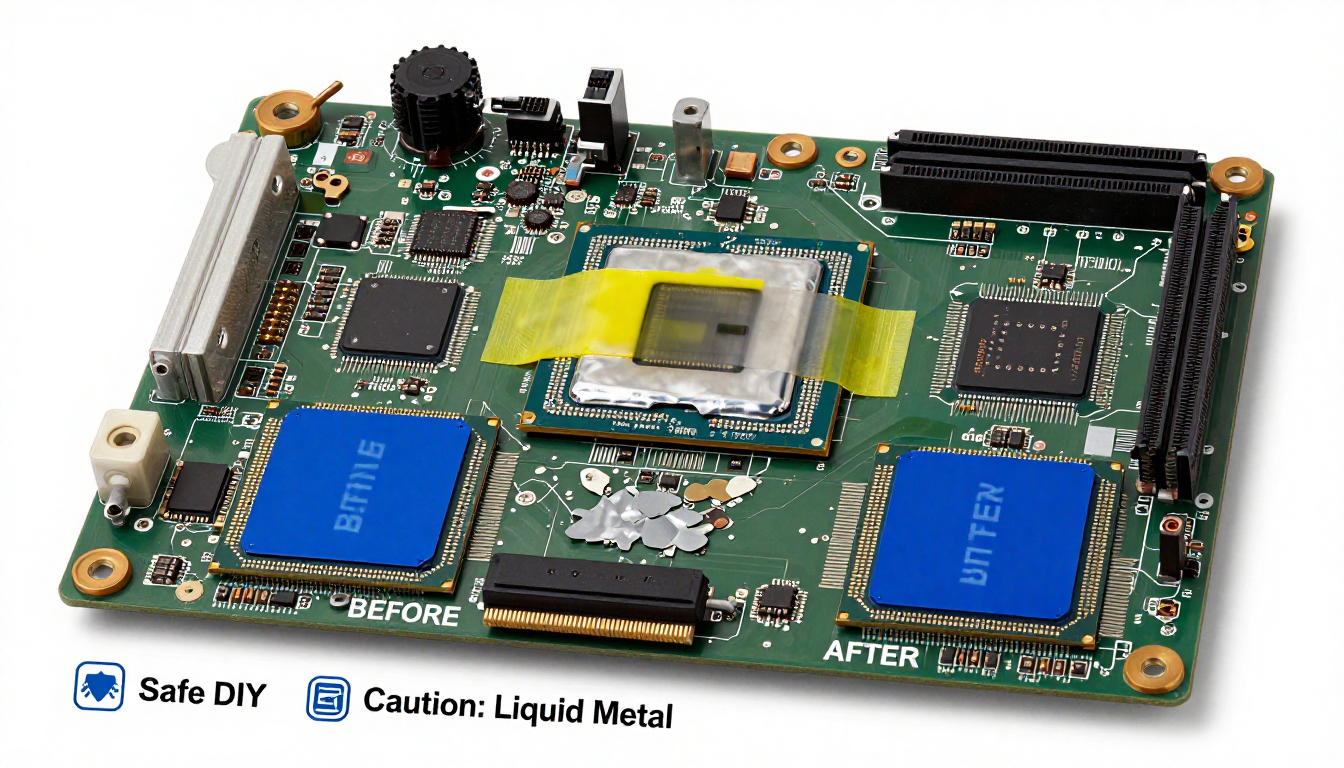
Critical Safety Note on Liquid Metal:
The main System-on-Chip (APU) uses conductive liquid metal from the factory. DO NOT ATTEMPT TO REPLACE THIS YOURSELF UNLESS YOU ARE A PROFESSIONAL. Improper handling can lead to short circuits and permanent console death. This guide covers replacing the thermal pads on the VRAM and VRM power stages, which are common failure points and use standard materials.
Step-by-Step Pad Replacement Guide:
- Disassembly: Follow a reputable teardown video for your specific PS5 model (CFI-10xx, 11xx, 12xx). You’ll need security Torx screwdrivers (T8, T9). Work on a clean, static-free surface.
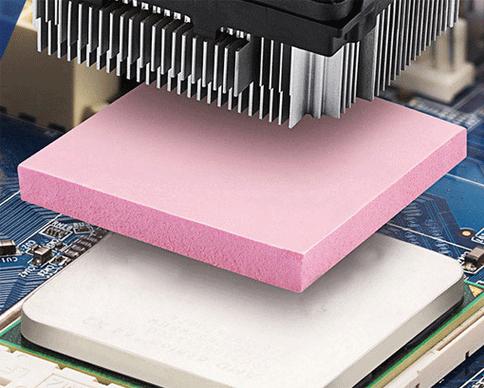
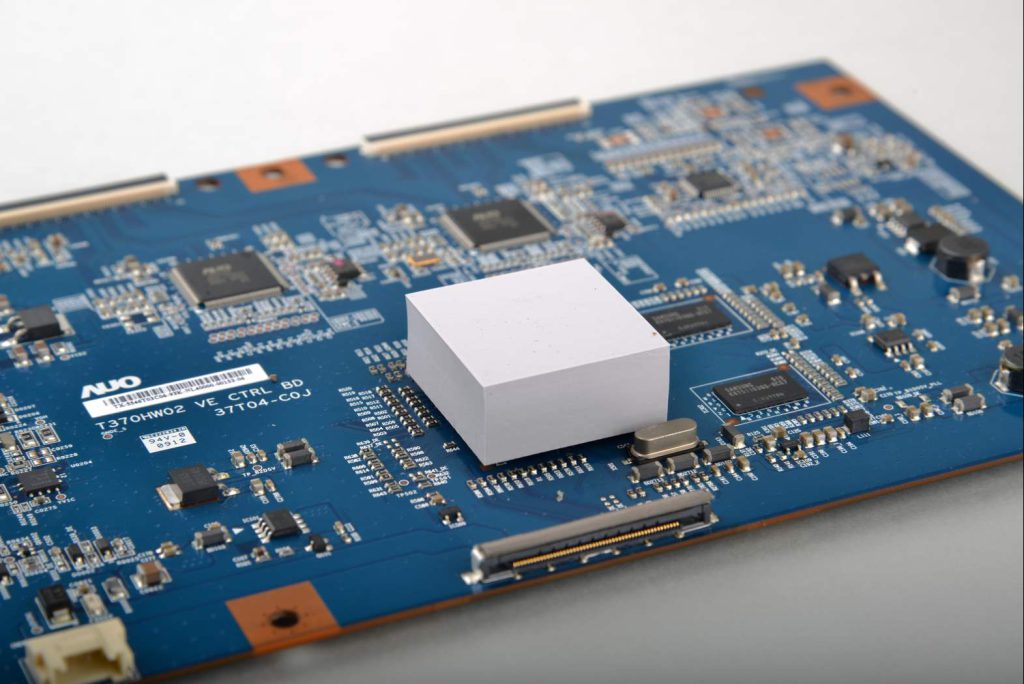
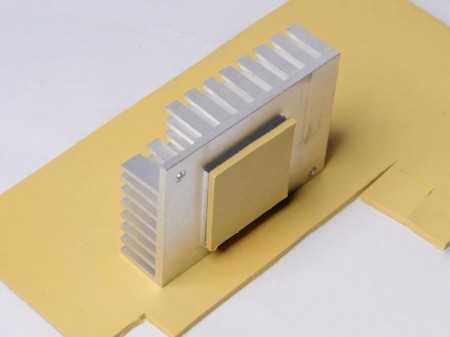
- Locate the Pads: Once the main heatsink is removed, you’ll see the large APU (with liquid metal) and several square memory chips and rectangular power stages surrounding it. These have thermal pads.
- Clean Old Material: Gently peel off the old, often dried or oily pads. Use 99% isopropyl alcohol and a plastic spudger to clean the chip surfaces and the corresponding spots on the heatsink. Avoid touching the liquid metal area.
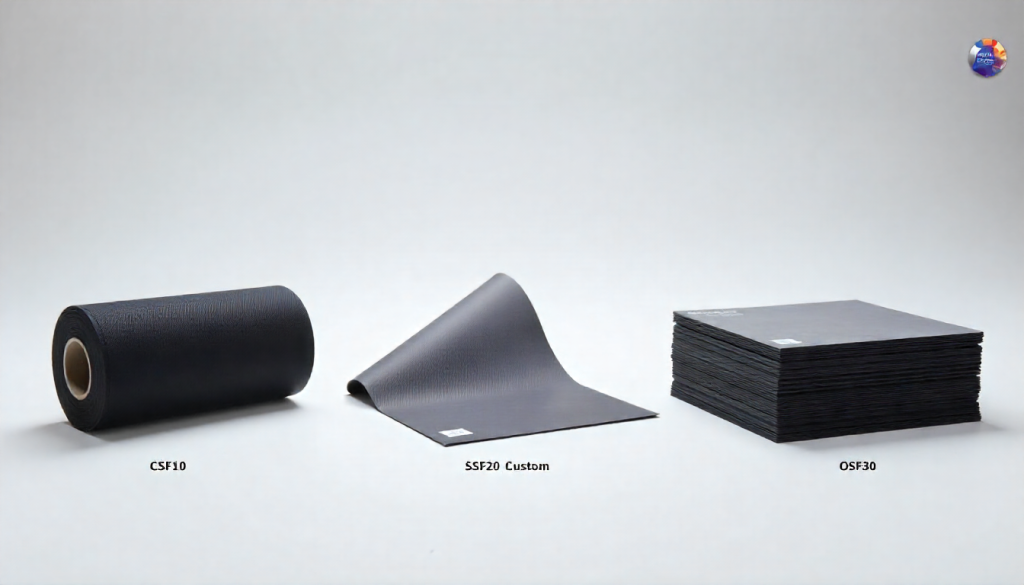
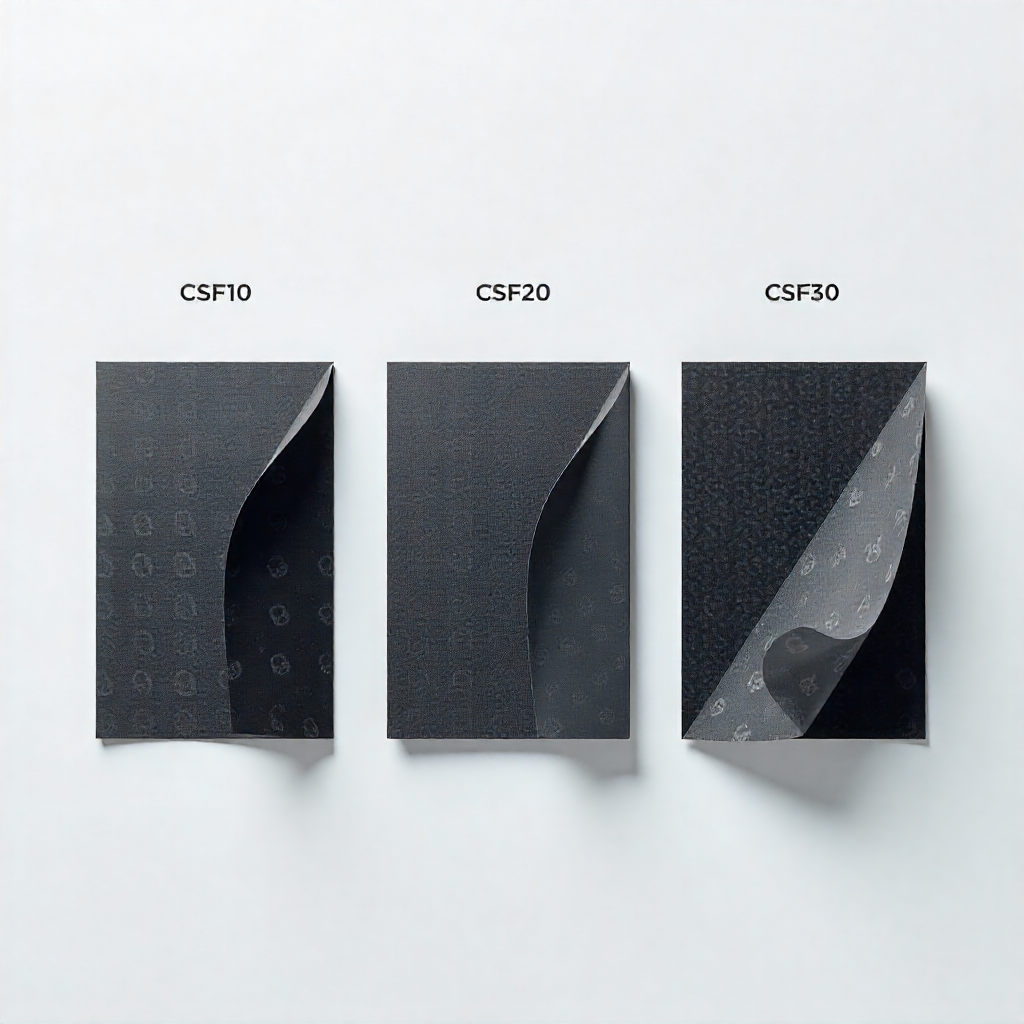
- Select New Pads: Pads are typically 1.0mm, 1.5mm, and 2.0mm thick. Thickness is critical.
- VRAM (Memory): Usually 1.0mm or 1.5mm.
- VRMs (Power Stages): Usually 2.0mm.
- Check your model’s specifics from repair community forums before ordering.
- Apply New Pads: Cut the new pads to the exact size of the chips. A soft, 6-12 W/m·K silicone pad is ideal. Place them carefully.
- Reassembly: Reverse the disassembly steps, ensuring all connectors are secure and screws are tightened in the correct order.
Expected Results:
A successful pad replacement can lead to a significant reduction in fan noise and more stable performance, especially in demanding games. It addresses the heat from components that the liquid metal does not cover.
For the vast majority of users, replacing only the standard thermal pads and cleaning the heatsink is the safe and highly effective solution to PS5 overheating woes.